The evaluation of visual fault locator KFL-11P
2019-10-09
Shape
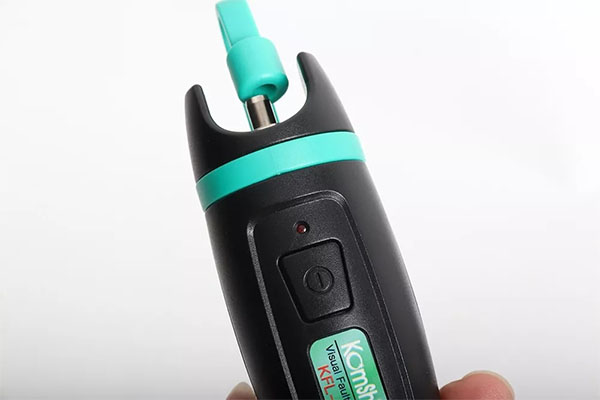
First look at its whole body photo ↓ It uses metal material appearance design, the hand texture will be very good.
Its silicone dust cap is not only very strong, prevents dust from entering, and the dust cap is hard to break even if twist it.

We only need to lightly open the dust cap and close it again after using. During the test, the dust cap is still tight when closed. Looking at the details of its buttons, it adopts the hidden button design. According to colleagues of product design, the hidden button is a trend of the product, which is a good way to avoid the automatic opening and wasted power loss compared with the design of some up and down sliding switch buttons.
Use
After introducing the appearance of the product, we will go into the actual operation. First, we will take a group photo of the tools used in visual fault locator detection -- including KFL-11P, optical fiber cleaning pen, jumper and LC adapter. Generally, the visual fault locator interface is a 2.5mm design, which is suitable for FC, SC and ST connectors. As the LC connector is 1.25mm, is needs to prepare FC - LC adapter .

1. A strong light source
Press the key can open it, can lase stable light, and press again will turn to flash mode. We will see a rose shape red light on a white paper.

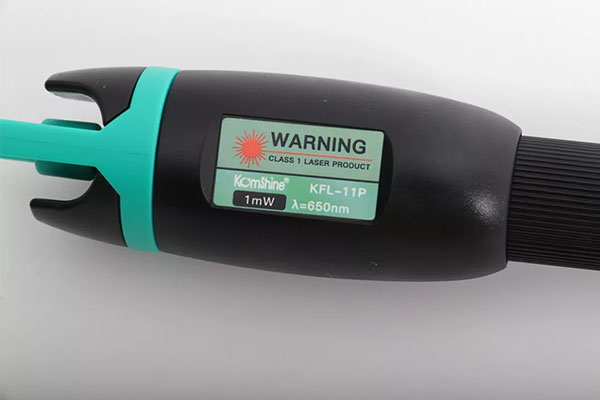
The ceramic sleeve (white) of the KFL-11P is consumable, so it can be removed and replaced, it’s convenience and economical for the Front-line construction personnel.

KFL-11P has four models, 1mW/ 10mW/ 20mW/30mW, among which the detection distance of 30mW can reach 30km, which can meet the daily needs of optical fiber detection and greatly improve the detection efficiency.
2. Clean the connector
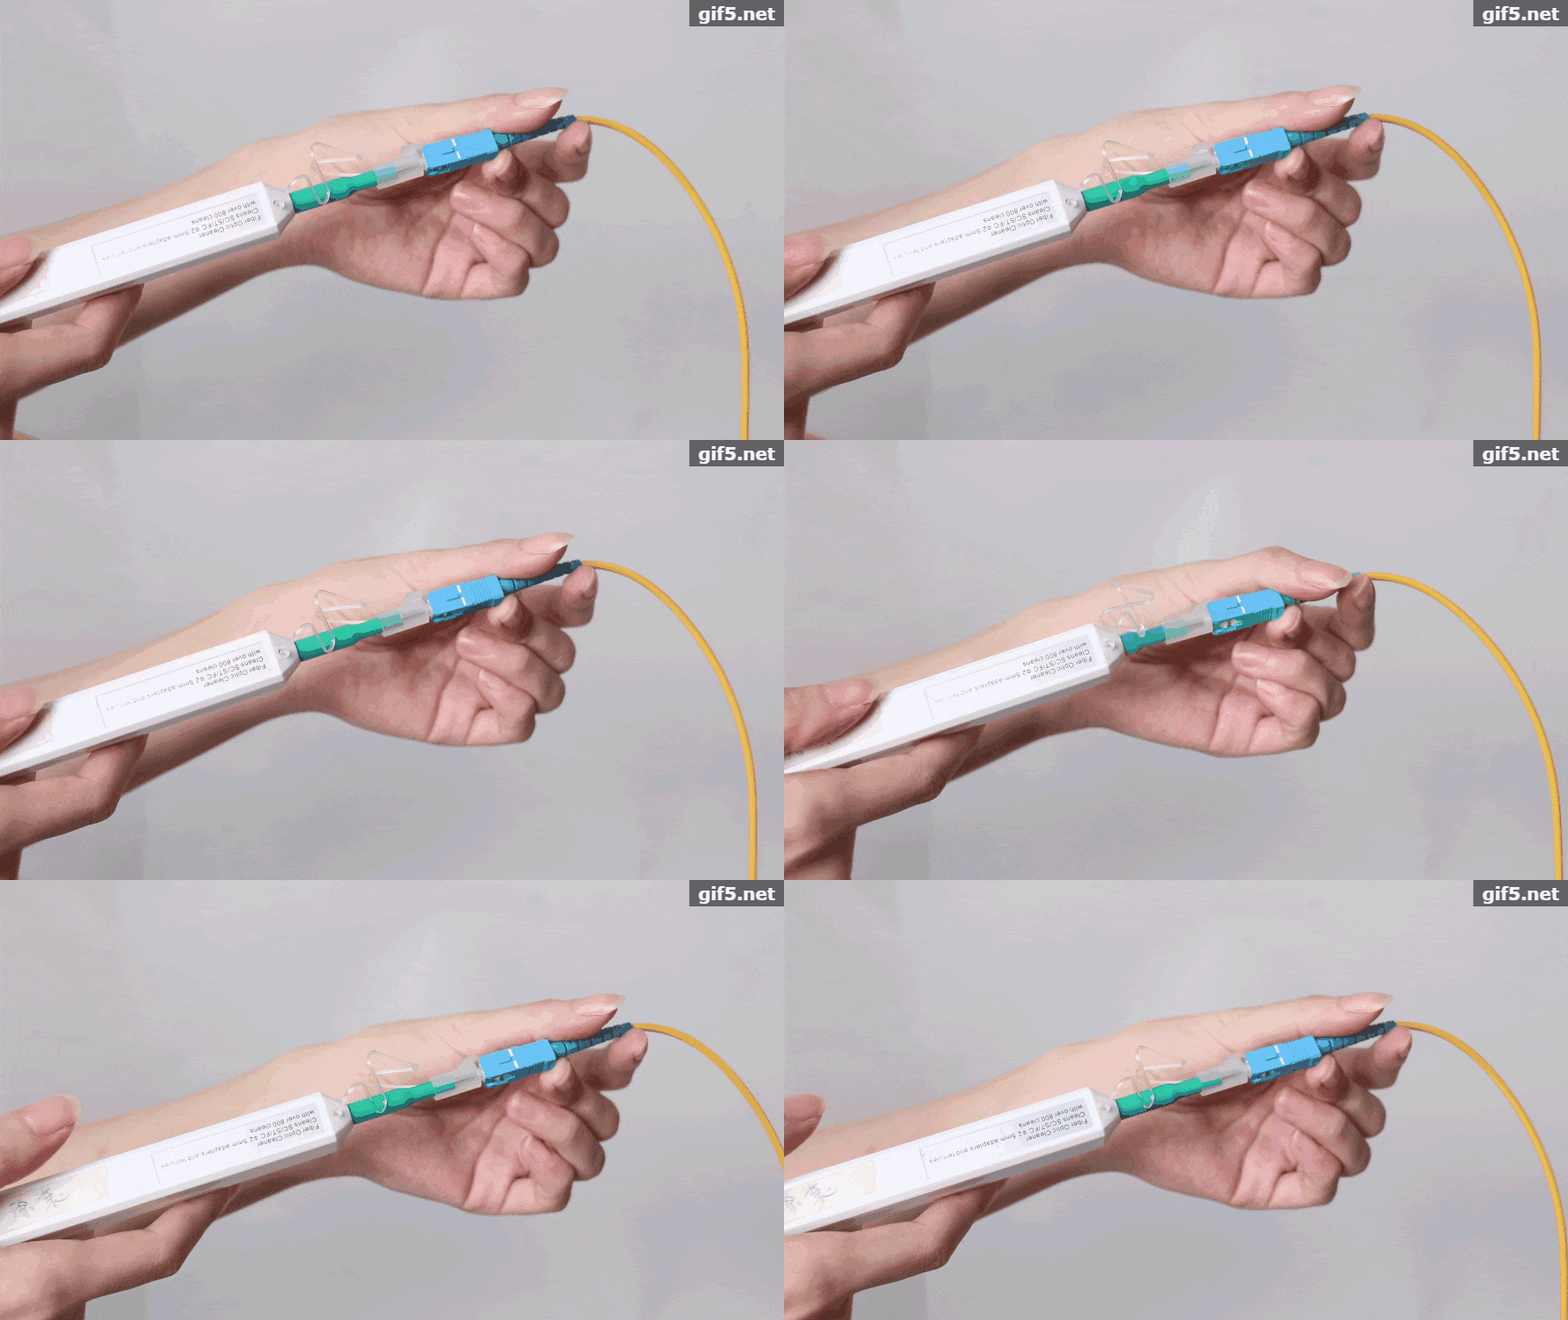
In order to better test, we first use the fiber optic cleaning pen to clean the connector, insert the cleaning pen into the connector, press it gently, and when the cleaning is finished, you can hear the "cata" sound prompt, so that the connector port will become shiny and clean. Generally this kind of early operation many users do not pay attention to, but here suggest that you had better clean the port.
3. Test
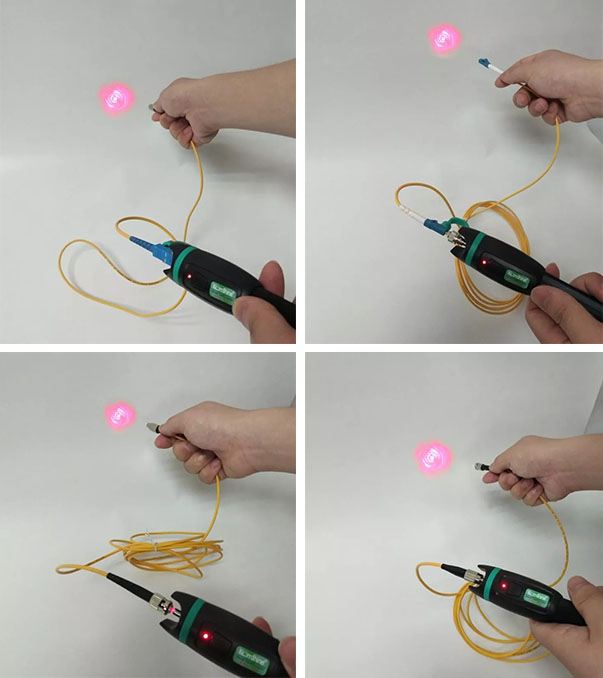
After cleaning the interface, it is necessary to start to detect the breakpoint of the fiber. For this product, we inserted four different ports, which is relatively easy in general, and there is no resistance. However, we should also pay attention to the detection, especially when we encounter LC ports, don’t insert it with much force, avoid to damage the insert core.
The image below from left to right, top to bottom show the connector SC、FC、ST、LC

OPeration: Open the machine, connector the fiber can test If the fiber optic jumper is connected and intact, if there is a red light leak somewhere in the fiber optic jumper, turn on the flicker mode (press the button), and the fault point of the fiber can be quickly found out.
A. Test the breakpoint
When the optical fiber is detected, one end is connected to the KFL-11P, if there is no red light emitted from the other end, but some part of the optical fiber is found to have red light leakage, indicating that there is a break point in the optical fiber, and it should be reconnected or replaced.
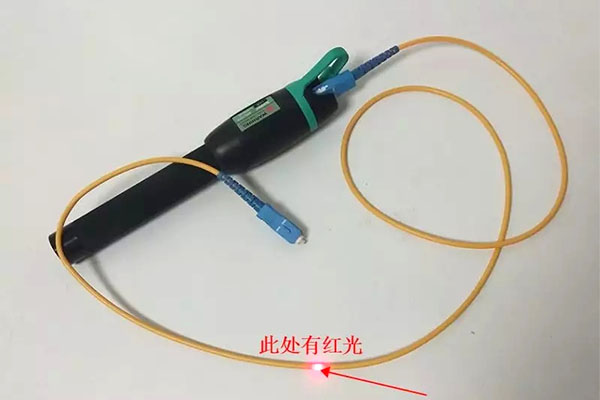
B. Find out the bending
When the fiber is bent, the loss of red light will be greatly increased and the detection efficiency will be reduced. Using the kfl-11p red pen, the bending point of the fiber can be found effectively, so as to correct it quickly and effectively.
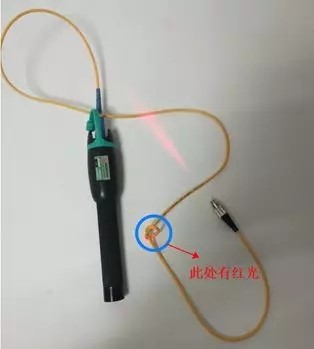
C. Identify the fiber
D. In the face of hundreds of optical fibers in the machine room, how to find the target optical fiber seems to be a problem... Based on the emitted red light, the red pen can quickly find the desired target fiber from the tangled pile of optical fibers. This feature is often used when installing Internet broadband at home.
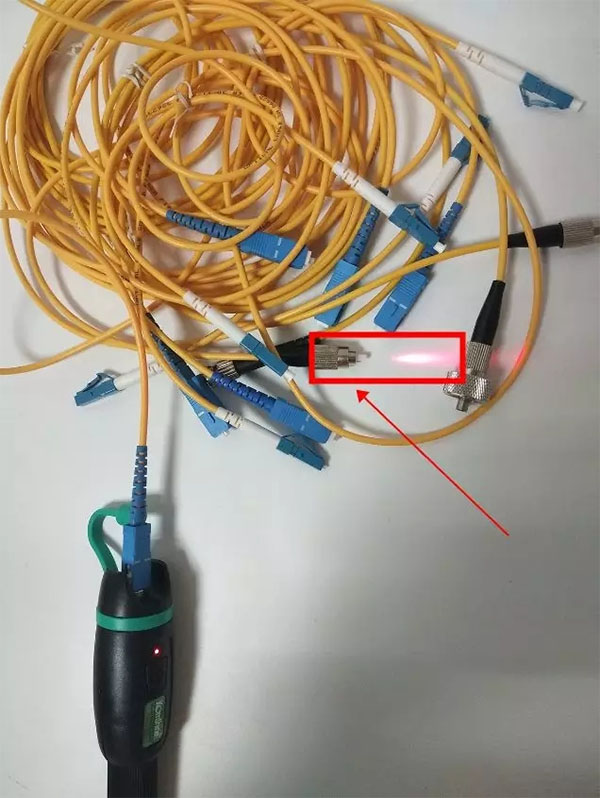
We can take a look at the final test results, when red light through the optical fiber in a different port illuminate come out, according to the instructions at the beginning, we can choose a red pen normally on or flashing mode, you can go to choose according to the actual operation requirements.
